
 One of the first things I do when I get a new or new to me motorcycle cycle is evaluate and adjust the suspension. I will also tell anyone who will listen to do the same. So how is it that I’ve had my Ninja 1000 for two years and somehow completely forgot to do this? I can’t say.
I can say that less than an hour in the garage with a friend, a socket wrench, and a spanner saved my relationship with my Ninja “thou”. I had been preparing for some time to sit down with the Ninja and say “We need to talk”, but now we’re getting along swimmingly. So what led to this near breakup and how exactly was it saved? Read on, friends…
The Unruly Beast
Over the past two years and thousands of miles I’ve had nothing but disdain for the handling of this machine. In particular, the bike had a nasty tendency to under-steer and wanted to just fall over in turns. Last year during a ride I was enjoying a familiar set of back road switchbacks and nearly tucked the front end. This behavior from a modern sport-tourer baffled me and confidence in the Ninja 1000 after this was pretty low.

Now you might be thinking “Why didn’t you take your own advice and adjust the suspension?” and I agree. I want to say that I did make some adjustments initially but somehow I never revisited. When I first brought the Ninja 1000 home I recall setting the available suspension adjustments the to the middle positions as a starting point for suspension adjustment. After doing this I didn’t immediately go out and ride and for whatever reason never finished the job. Stupid of me? Yes!
The adjustments above were the only time I recall touching those settings and yet I still had the nerve to complain to riding friends about how poorly the motorcycle handled. I can be a bit thick at times and I’m “owning it” here. Finally, before moving on, I want to point out that the following is not meant to be a comprehensive guide on suspension adjustment. Instead, it is to provide a high level overview of the benefits of a properly set up suspension.
So with the preamble out of the way…
Adjust Your Sag
Before anything else you should start suspension set up by setting your sag. This usually requires some simple tools and a friend (or two) to accomplish and can be done in a matter of minutes. As part of this setup I would recommend setting any other adjusters for compression and/or rebound damping to their middle positions before taking the sag measurements.
Since there are so many different tutorials on how to properly set sag I’m not going to reinvent the wheel but rather point you towards Ractech’s instructions on this. These are the same instructions I followed for setting up my bike.
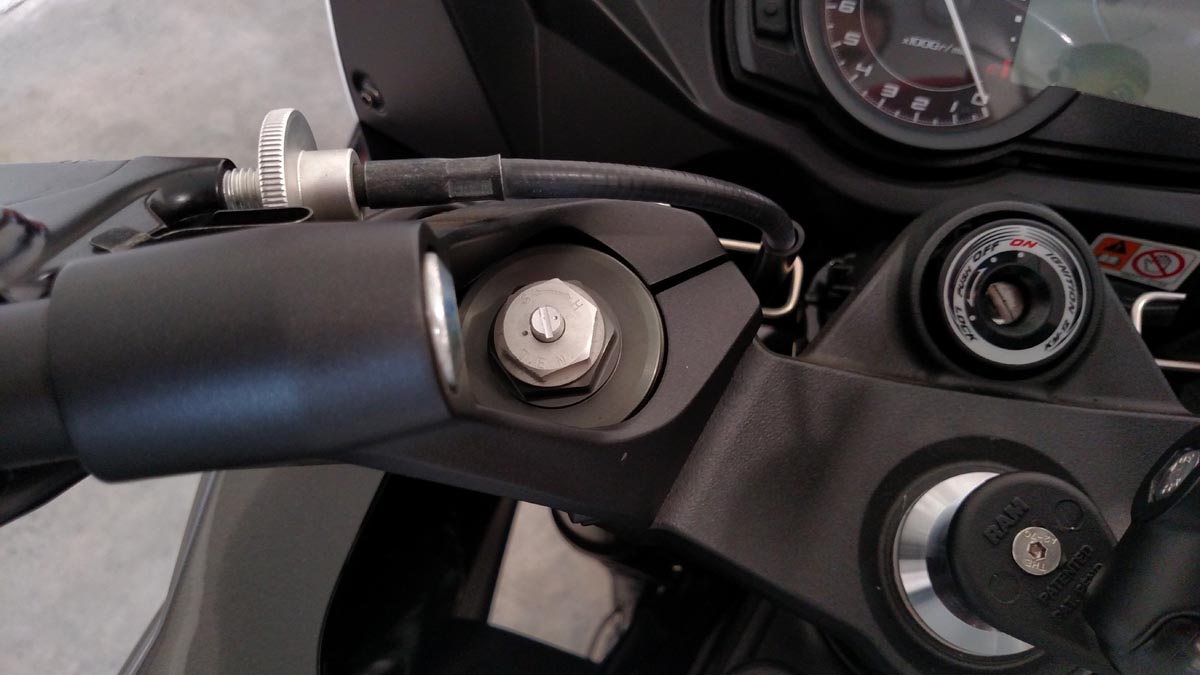
Preload and compression settings on the fork cap.
So what exactly is sag? To quote Racetech “Spring sag is the amount the springs compress between fully topped out and fully loaded with the rider on board in riding position. It is also referred to as static ride height or static sag. Making this sag adjustment achieves two things. One, it will get your ride height set up in the best way for your style of bike and the way you ride and two, the results can inform you if the suspension components need to be replaced.
The latter point is important as heavier or lighter riders may discover that they cannot adjust their suspension far enough to provide the proper sag setting. In these cases new springs may be in order. This is also true if the bike has no preload adjustment as there is no other way to adjust sag short of swapping springs, although in some instances, one could make spacers to increase preload if needed.
Back to the first point, let’s look at what preload does and doesn’t do. Preload adjustment simply sets ride height (*in most cases) of the motorcycle. Specifically, everything sitting above the springs is raised or lowered using the preload adjustment (or by swapping springs).
This change in ride height is achieved by compressing or, pre-loading, the spring. This applies to both the springs in the forks as well as the coil over spring on the rear shock, or shocks.
(For those of you with Telelever suspensions, you have a coil over spring up front as well)
The idea here is that your springs are already under some compression even when the bike is just sitting there without a rider. When the rider is on board, the springs compress down and the ride height is lowered a certain amount depending on rider weight. If one adds more compression to the spring using the adjuster(s), the ride height will start raising as the spring pushes back.
Preload Affects Suspension ‘Stiffness”, Yes or No?
The correct answer is “It depends.” That is why I said “*in most cases” earlier.
I was always told that preload adjustments will not affect how stiff the suspension feels. In the past, I was sure that the suspension felt “tighter” when adjusting the preload even though, as I stated above, preload only affects ride height. So how can this be?
Progressive springs, that’s how. As the name suggests these types of springs have a variable rate of compression so they get progressively harder to compress as they are squeezed down. This seems like a good idea, and in some situations it can work well enough, but I feel they are less desirable for the sport rider.

Rear shock preload collar.
A stable suspension makes for drama free cornering and a practiced rider will be able to perform nice smooth cornering and can be faster as a result. Progressive springs, however, can make it very difficult to understand how the suspension will behave (or misbehave). That soft initial spring rate will make the front end pitch forward very easily but then it will stiffen up “at some point”. As such each corner entry speed will change up this behavior making it difficult to predict how and when this change will occur.
Since the suspension is so willing to dive during that initial spring travel, the suspension geometry is quickly changed. As a result of the suddenly reduced rake angle the bike wants to fall into a turn faster and can produce understeer. If this sounds familiar it’s because I suspect this is what happened to me during the incident I described earler.
Recently I decided to perform a sag adjustment as I couldn’t recall doing this before on this bike. I was hoping maybe that this adjustment would do “something” to improve the handling and I would take anything I could get. It turns out I was very glad I did. I was fortunate in that I happen to be just the specific weight for my 2013 Ninja 1000 in that by applying the full preload settings on the suspension I ended up placing the sag in just the right spot. While this meant I used up all my adjustment I was still in the range that the current springs would settle in the sweet spot for correct sag.
This adjustment also used up the “soft” portion of my fork springs as the ride is now much more firm. The result is that the suspension behaves better and is more predictable. The nose no longer dives for the asphalt while setting up cornering speed for the next turn. So in this case, upping the preload DID actually do more than change ride height since it effectively increased the spring compression rate.
I’ve essentially turned my progressive springs into fixed rate springs by using up the softer portion of the springs but what if I weighed 20 lbs less? Or even 40 lbs less? After adjusting sag for those figures I’d likely have plenty of that softer spring area in the suspension travel which would re-introduce that variability to suspension firmness.

For those situations one can replace their springs with the appropriate constant rate spring for your motorcycle and weight. Most manufacturers have charts where you can input your bike, your own weight, and your riding style that will help you make an informed decision as to the correct spring rate for your machine.
I want to make it clear that I’m not saying that all progressive springs are bad. Getting the right progressive spring for your weight and riding style can make for a very smooth ride for less technical riding. Since most factory springs are designed to cover a wide range of rider weights those are often going to be a compromise. For more aggressive and technical riding, constant rate springs will often be the right choice.
What About Damping?
Without the basic damping provided by even simple non-adjustable suspensions a vehicle would just continue to “bounce” down the road. It would never really settle into a stable position as long as it keeps moving. If your motorcycle is so equipped, there will be adjustments for compression and rebound damping. These control how resistant the suspension will be to compressing and expanding which controls how “hard” or “soft” the suspension feels.
This is achieved by controlling oil flow as it moves from one part of the fork or shock to another during compression and rebound. Adjusting the size of the orifice through which the oil passes allows one to customize the damping effect. A a bit of an oversimplification, but this is the basic idea.
Not all bikes have all (or any) of these adjustments. In some cases changing the weight of the fork oil can make some changes to the front end damping and there are even emulators that can provide a tunable adjustment here. In the case of the rear shock, if there are no compression or rebound adjustments available, one typically needs to replace the shock, or have it professionally rebuilt to spec for your bike and weight.
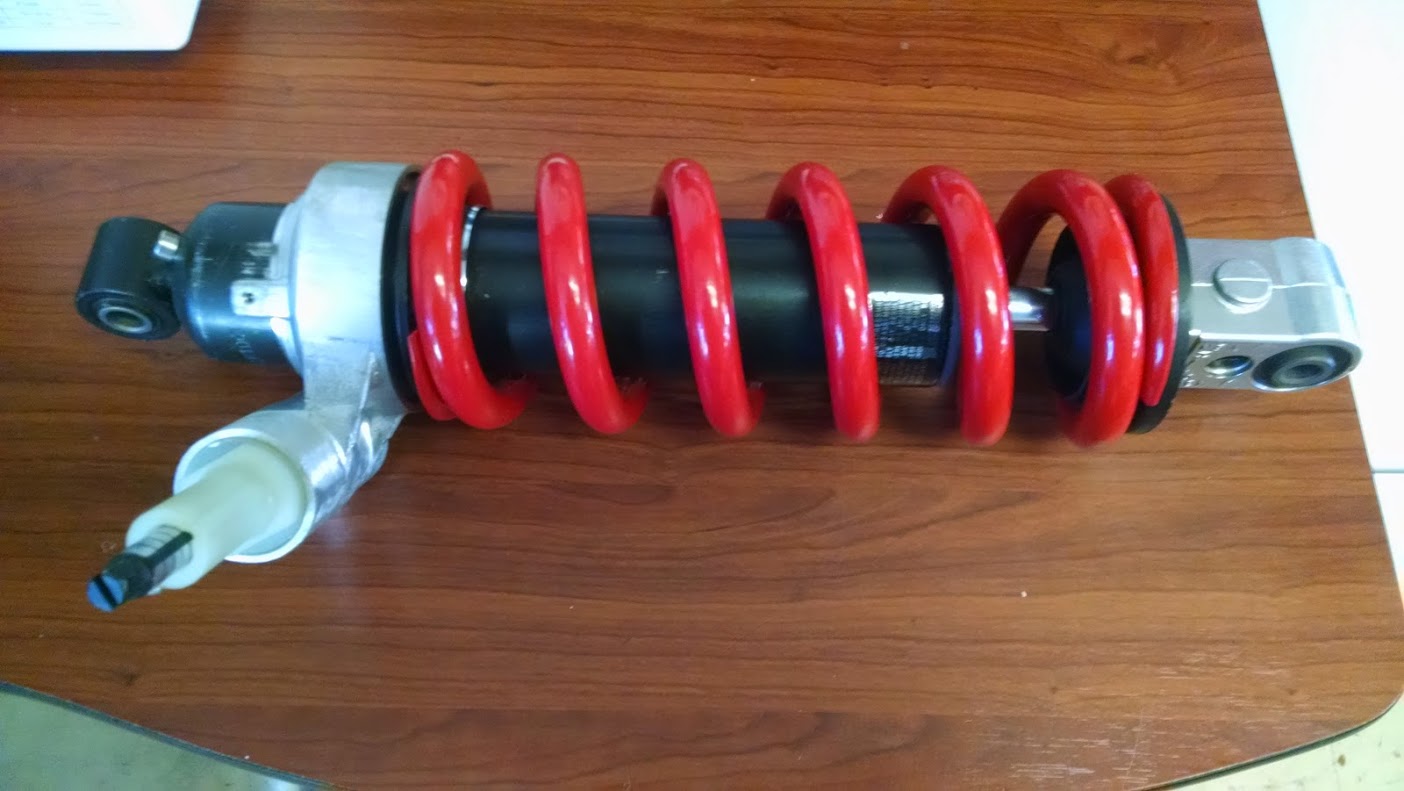
Factory shock that has been rebuilt and re-sprung.
All that being said, what constitutes the “proper” settings for compression and rebound are very subjective. Trial and error is the best way to tune these settings if you have them available. One should make adjustments, note them (important!), and then go ride a familiar stretch of road. Adjust again and keep repeating until you’ve dialed in what feels best to you.
While this is subjective, one can still go too far. Too much compression damping can prevent the suspension from moving fast enough to recover between bumps on rough asphalt. The result will be a harsh ride and the suspension will not be able to cope with bumps to the point that the tire can bounce off of the ground and lose traction.
Too much rebound damping can cause “packing” which meant the suspension cannot get back to normal ride height before the next bump. The result will be the suspension will get lower and lower until suspension travel is compromised. These are extreme examples but they illustrate how important proper setup is. Even just setting sag will often make a significant difference on its own.
Moral of the Story
Take the extra time to set up your suspension and you’ll get the most enjoyment out of your motorcycle. Plus you’ll learn a lot about your bike as you fine tune the adjustments making you into a better informed rider.

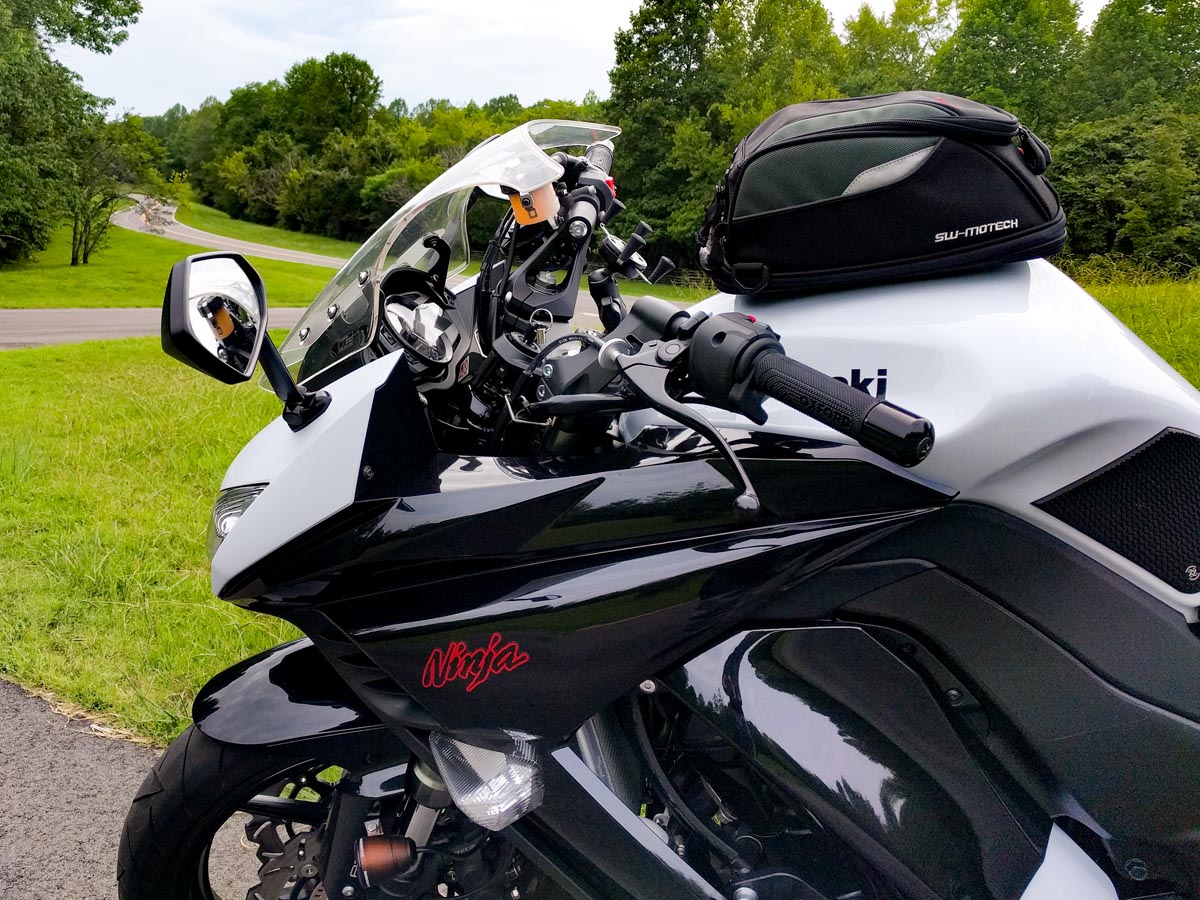
Still happy together.
Leave a Reply